Editor’s Note:
This article was originally published in 2011, but the message still rings true. Over the years, readers have shared thoughtful comments and personal experiences that echo the same struggles and lessons discussed here. I’ve updated this piece to include a few of those voices as well as running everything through a 2026 filter.
I’m nearing the end of the Adirondack Chair project and I constantly need to remind myself to slow down. Even after doing this woodworking thing since 2004, I still have a tendency to rush during some of the most critical parts of the project. Am I just naturally impatient? Am I sick of seeing the project in my shop? Maybe I just like taking needless risks and making my life more interesting? Truth is, I’m really not sure why I do it. Ultimately, I’m a flawed human being. I bet you are too! But before you hang your head in shame, remember, we don’t have to give in to our baser instincts. If we recognize the problems created by rushing, we are half way to implementing the process of slowing down.
“So so true, I tend to have one speed in the shop, ‘light speed’. The shop should be the place we can all take a deep breath and just relax and slow down and enjoy what we love doing, but easier said than done.”
— John
So let’s discuss some of some key areas where rushing will really bite you in the ass. For me, most of these issues are toward the end of the project so that’s where I’ll focus. I will also provide some suggestions for avoiding these common pitfalls.
Surface Preparation
When getting parts ready for finish, I have a fairly standard sanding regimen: 120 grit > 180 grit > 220 grit (I might finish at 180 or even 320 depending on the finish). Seems straightforward, but often times I’m in a rush and I skip the lowest grit. BAD idea!
If you use power tools to mill your stock, like jointers and planers, you are guaranteed to have milling marks on the surface. Sometimes they’re pretty obvious (as pictured below) but sometimes they’re more subtle. They generally appear as light and dark stripes across the width of the board. To be blunt, they look like shit. You are going to want to remove them.
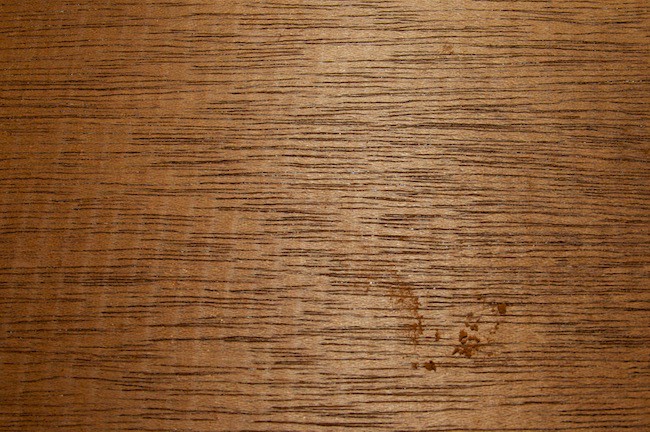
If you use hand tools, you can easily remove these marks with a few passes of a smoothing plane or a card scraper. If you’re power tools only, these marks are removed fairly quickly with a 120 grit sanding, allowing you to then proceed through the grits from there.
But what really happens when we try to “save time” by skipping the lowest grit? Sure, 180 grit makes things look better. Sand long enough and it might even feel perfect. More often, though, you’re just hiding the marks. The finish doesn’t hide them, it spotlights them. Best case, you catch the mistake early. Worst case, you only see it from just the right angle, under just the right light, once the piece is in the house. You know, that moment when woodworkers everywhere whisper the same timeless phrase: “Oh F&@k me.”
So, don’t skip grits. Seriously, don’t do it. If you’re having trouble determining how long to sand with each grit, take a blunt pencil and make some marks on the surface prior to each new grit. Once the pencil is completely gone, you can be confident you’re done with that grit and you should move onto the next. And don’t be afraid of those hand tools. A well-tuned hand plane or a card scraper with a fine hook on it can save you a ton of time (and sandpaper) and puts a lot less dust in the air.
“Impatient sanding is always tough to avoid. If I wait to sand at the beginning of shop time, I will do a more thorough sanding.”
— G Miller
Glueups
When it’s time for assembly, I sometimes dive in head first…..slathering the joints with glue and banging the parts together doing the woodworker’s version of “dance like no one’s watching.” Unfortunately, that’s a recipe for serious problems.
Most woodworking glues are water-based, and as joints absorb that moisture, they swell. That swelling can turn assembly into a nightmare if you don’t have a plan before the glue ever hits the wood. The result is usually a crooked project, open joints, or, worst of all, broken parts from hammering things back apart. I’ve done it more than once, gluing the wrong parts together or flipping a piece the wrong way. Realizing that after the glue starts to grab is one of the most brutal gut punches a woodworker can experience.
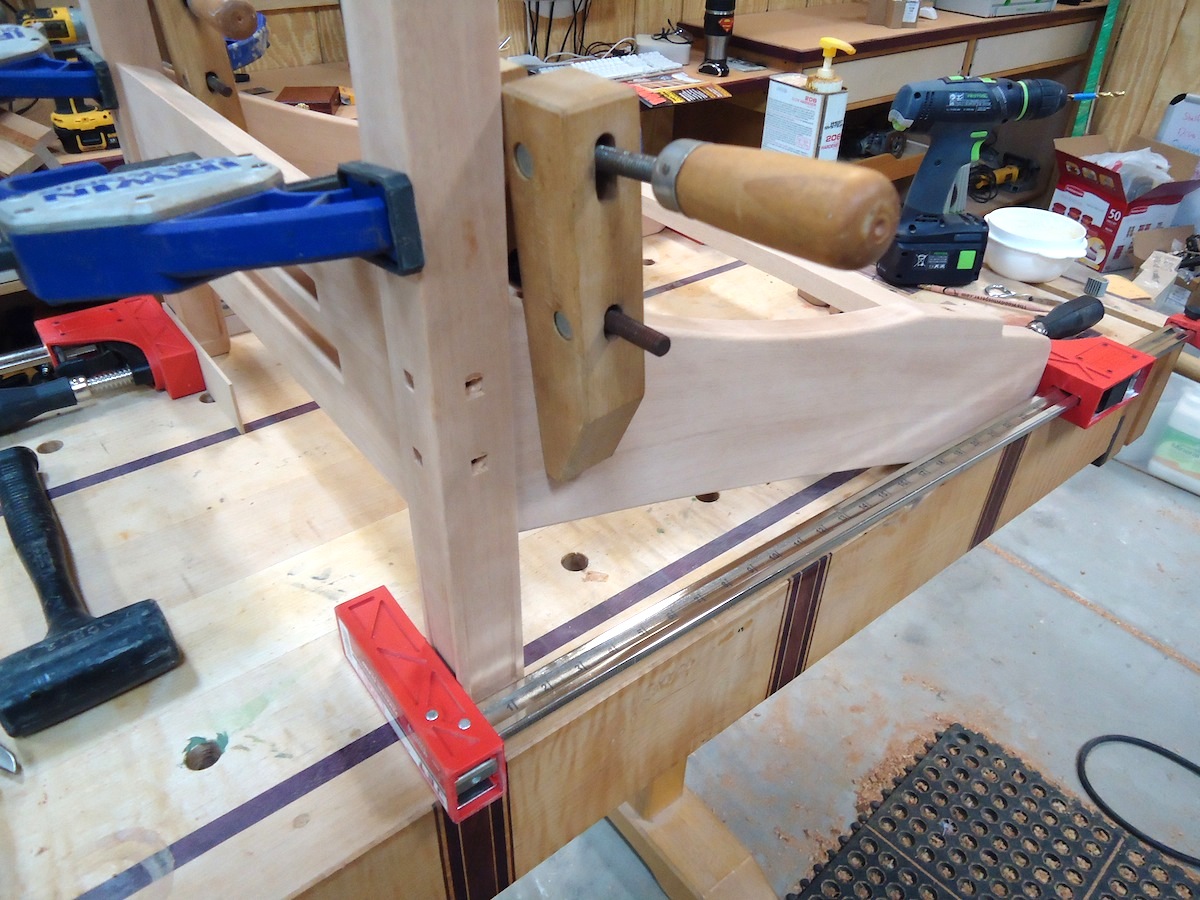
Instead of diving in blindly, do at least one dry assembly. Figure out your clamping strategy ahead of time and stage everything you’ll need, clamps, glue, brushes, rollers, rags, all within arm’s reach. You do not want to be hunting for a caul while your joints are actively swelling. For especially complex glue-ups, break the job into sub-assemblies, or choose a glue with a longer open time, like epoxy or Liquid Hide Glue.
“My mind was racing with what I needed to do. Instead of running around like a chicken with its head cut off, I need to take a deep breath and focus on the next step.”
— Jeff
Finishing
Finishing on its own is something of an art form. You can execute flawless joinery, nail your proportions, and obsess over surface prep, only to undermine all of that hard work in the final stages. It’s not uncommon to see a beautifully built piece of furniture that’s utterly diminished by a bumpy, streaky, or uneven protective coating. And to be clear, that’s not me casting judgment from afar. I’ve been guilty of every one of these mistakes myself.
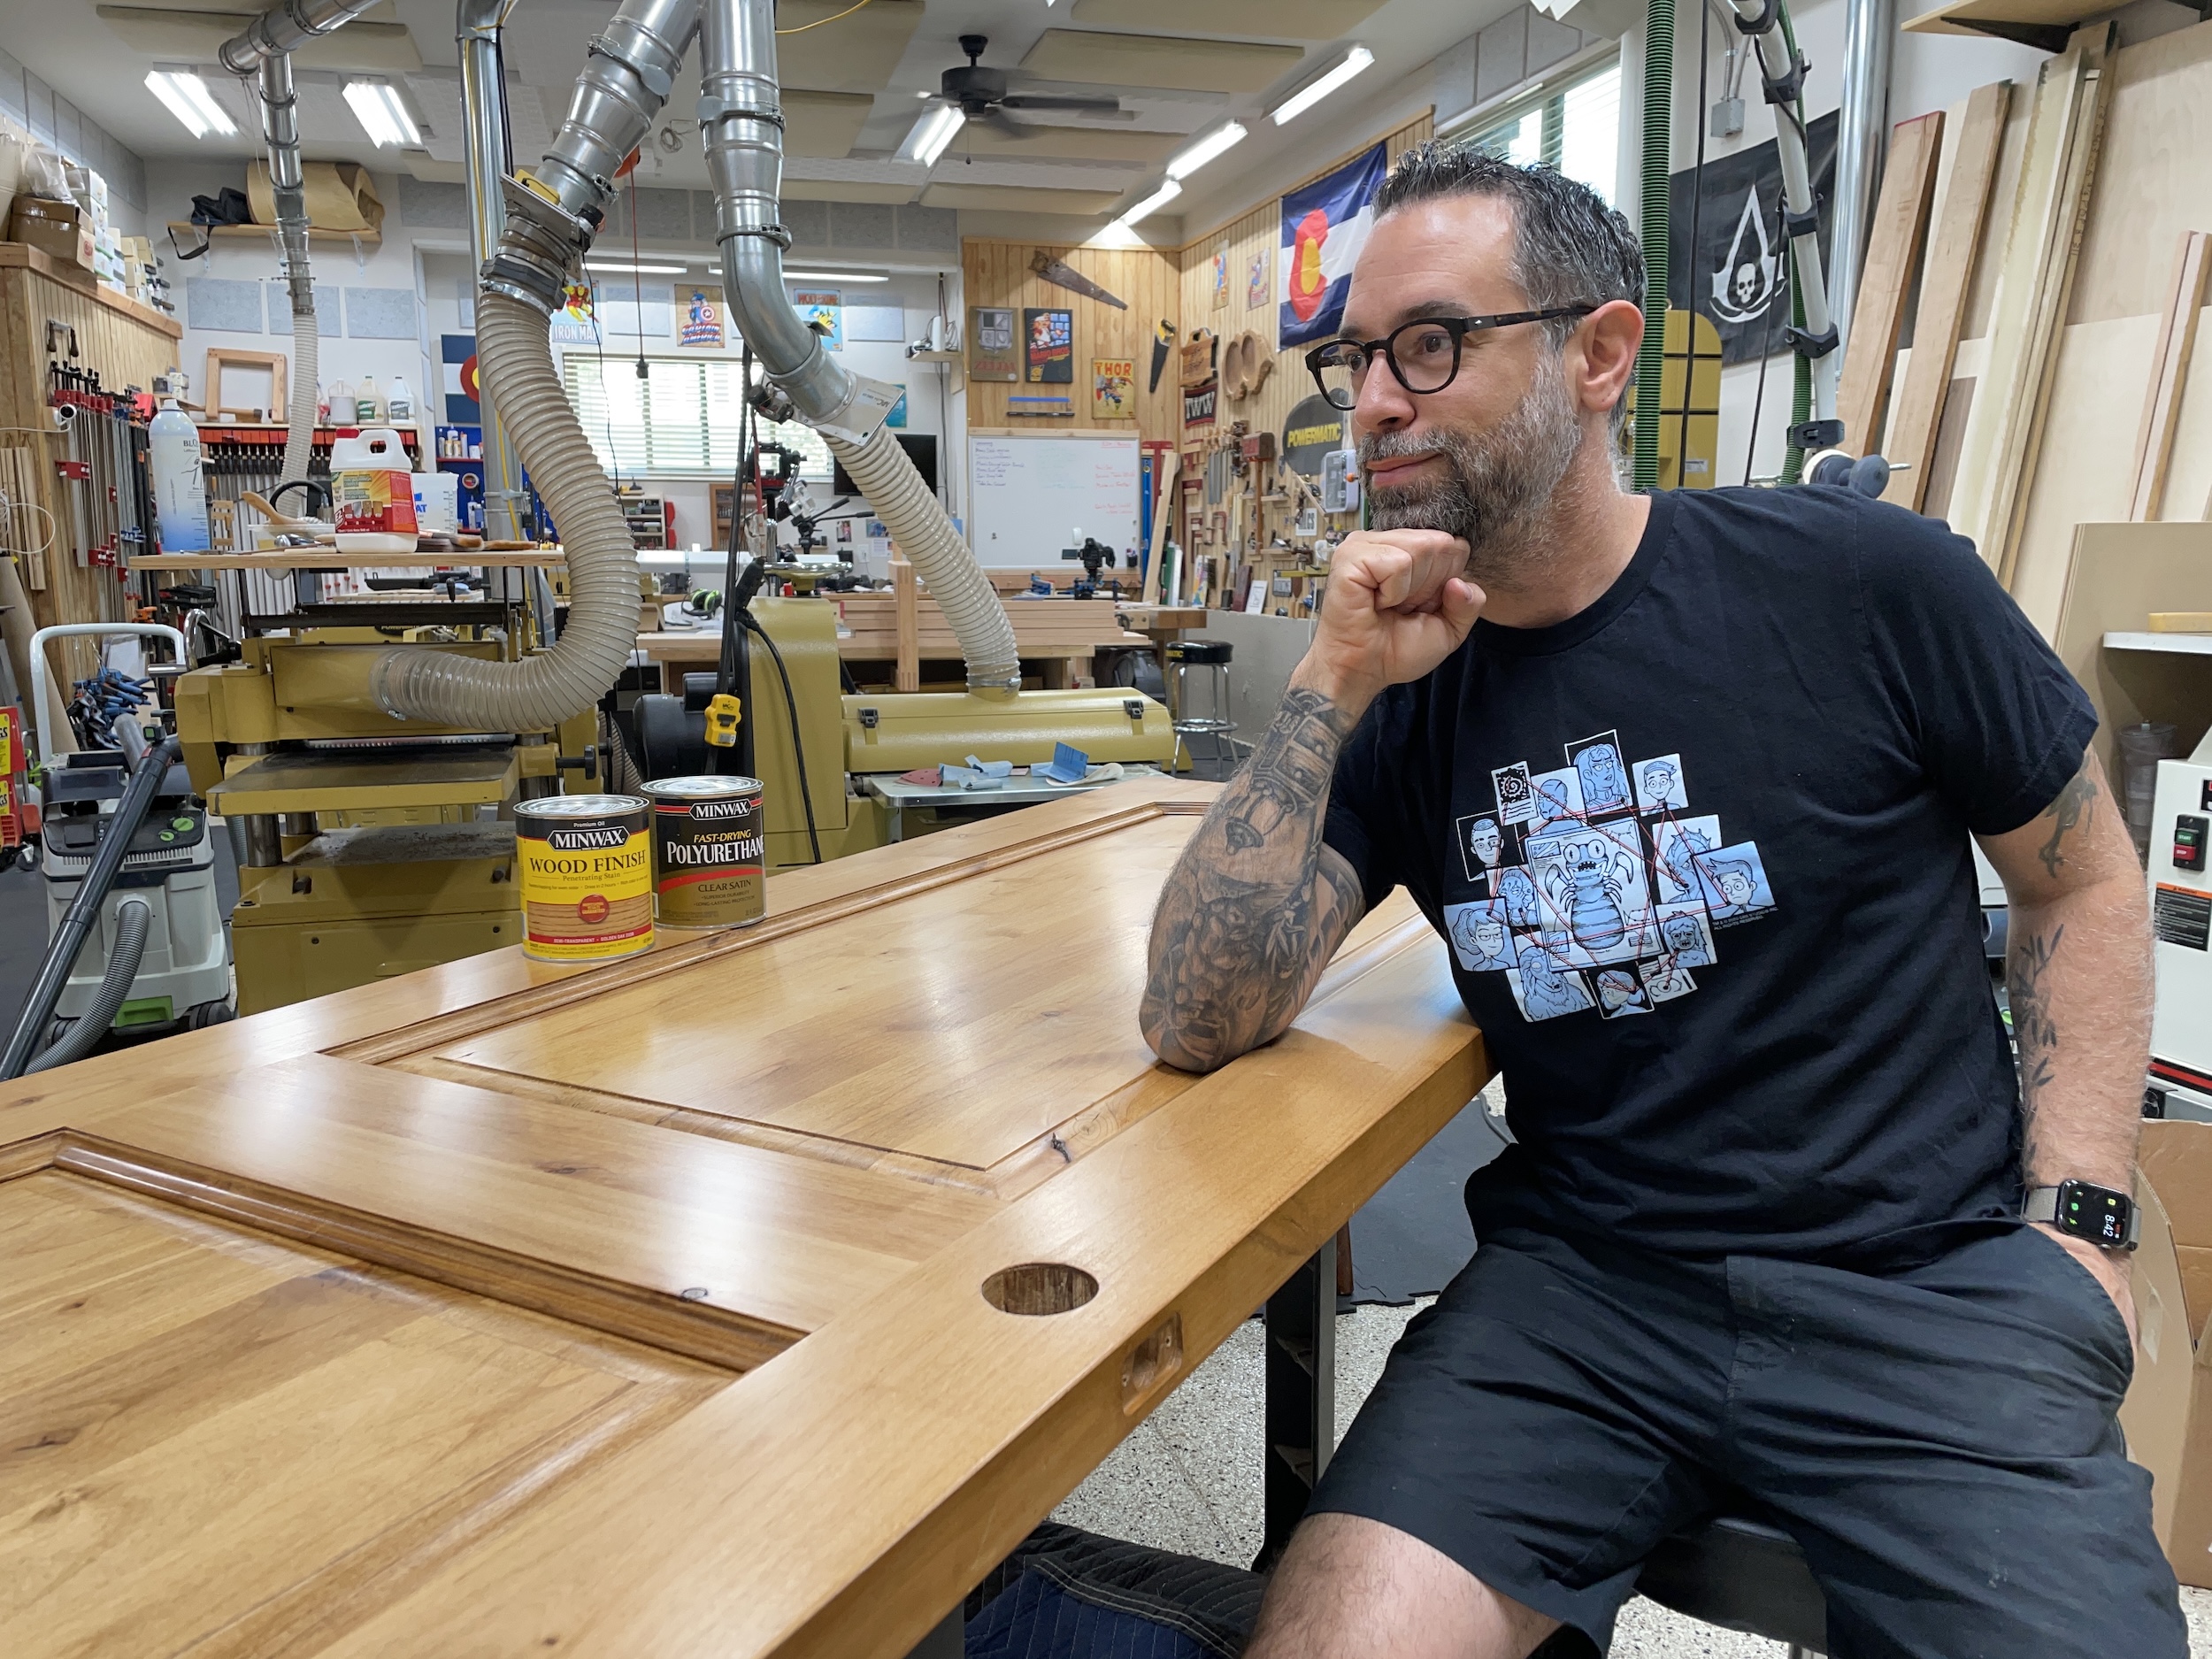
The tricky thing about finishing is that it feels deceptively simple. You wipe it on, brush it out, or spray it on and call it good. But unlike milling lumber or cutting joints, finishing punishes impatience almost immediately. Worse yet, good lighting at home reveals every shortcut you took.
“I have to force myself to slow down, but when I do manage to slow down the results are well worth the extra time.”
— hans_christopher
My list of finishing sins is a familiar one.
- Applying a new coat of finish before the previous coat is completely dry. Finishes don’t just dry, they cure, and those are two very different things. When you rush this step, you trap solvents, soften previous layers, and create surface problems that no amount of wishful thinking will fix.
- Not sanding between coats (when the finish calls for it). Even when a surface feels smooth, it often isn’t. Dust nibs, raised grain, and subtle imperfections compound with each additional coat. Light abrasion between coats isn’t busywork, it’s how you maintain control over the surface and produce glass smooth results.
- Using the wrong finish simply because it’s the one I’m comfortable with. Just because a finish worked well on the last project doesn’t mean it’s appropriate for the next one. Durability requirements, sheen, application method, and repairability all matter, and comfort alone isn’t a good enough reason to ignore them.
- Not doing enough research on a new finish. Every finish has its own rules, quirks, and failure points. Some demand strict timing windows, others are sensitive to temperature and humidity, and some require surface prep that’s very different from what you’re used to. Skipping that homework usually means learning the hard way.
- Not getting to know a new finish on practice boards. Scrap boards are cheap, frustration is not. Practice pieces let you dial in application technique, test compatibility, and make your inevitable mistakes where they don’t matter.
Finishing rewards patience, preparation, and humility. It’s not something to rush through just to declare a project “done.” In many ways, the finish is the project’s first impression, and often its lasting one. Slowing down here doesn’t just improve the surface, it honors all the work that came before it.
What areas of the woodworking process have you found yourself rushing though and how did you stop the madness??